Amber Lighting
Tuya LED Ceiling Light 0.94Inch Ultra thin 36W Square Voice Control Alexa Smart Lamp For Kitchen Bedroom Living Room Indoor Lamp
Tuya LED Ceiling Light 0.94Inch Ultra thin 36W Square Voice Control Alexa Smart Lamp For Kitchen Bedroom Living Room Indoor Lamp
Couldn't load pickup availability
SPECIFICATIONS
Application: Kitchen,Dining Room,Bed Room,Foyer,Study
Base Type: Wedge
Body Material: ABS
Brand Name: MING&BEN
Certification: ce,LVD,LVD,CE
Choice: yes
Features: CCT/Brightness adjustable
Finish: PC
High-concerned chemical: None
Installation: Surface mounted
Installation Method: self-contained
Is Bulbs Included: Yes
Is Dimmable: Yes
Is Include PCBA: Y
Is Smart Device: Yes
Item Type: ceiling lights
Light Source: Energy Saving
Lighting Area: 15-30square meters
Luminous Flux: 2000-82000
Material: PVC/Plastic
Number of light sources: > 20
Origin: Mainland China
Power Source: AC
Style: Modern Style
Switch Type: Remote Control
Technics: Plain Dyed
Use: Daily Lighting
Voltage: 90-260V
Warranty: 1 Year
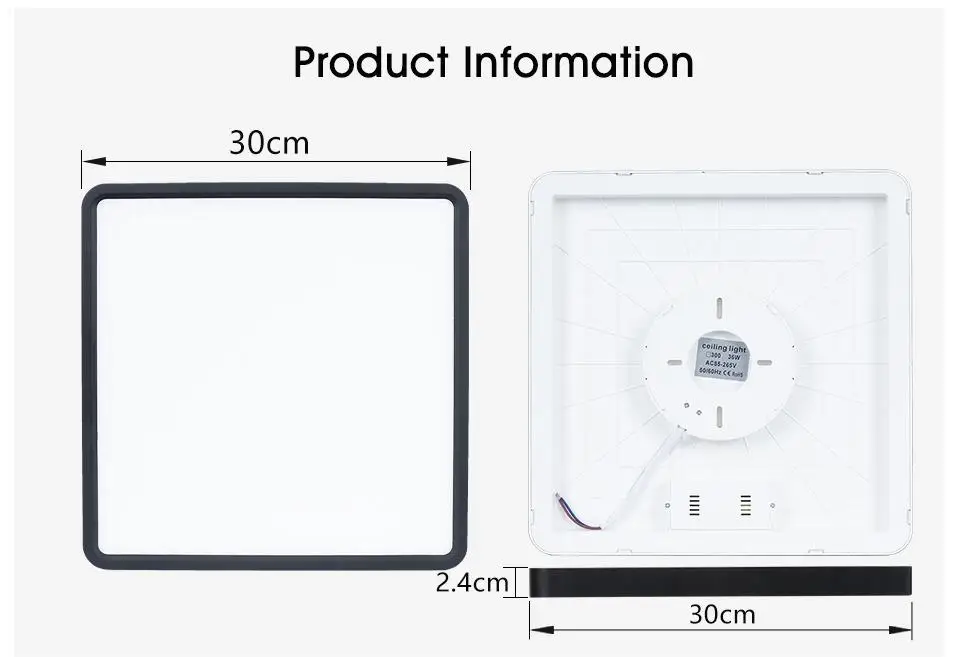
▼Product Specifications
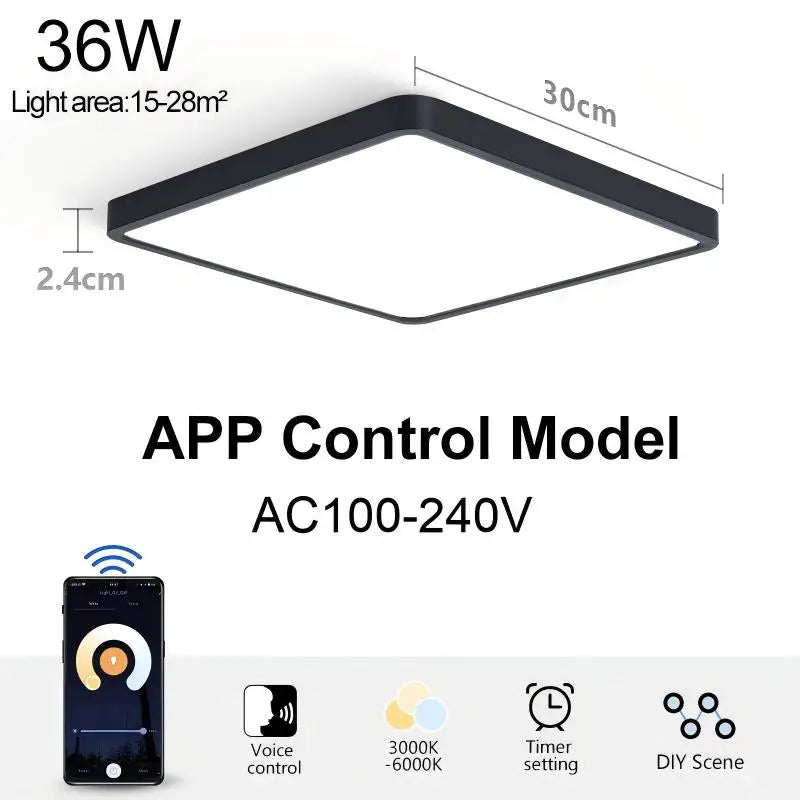
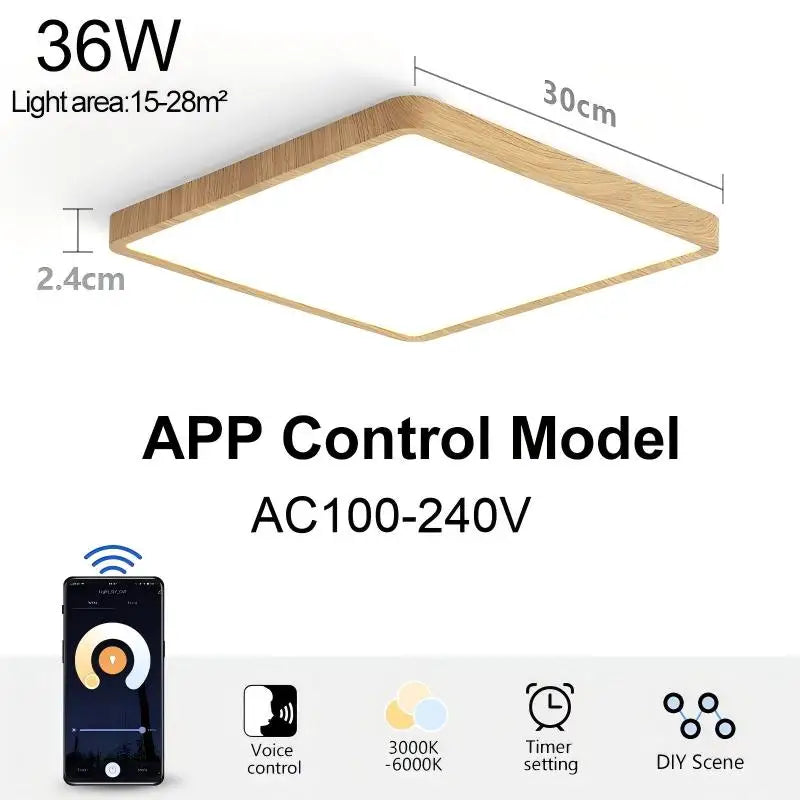
1. Size: 30cm × 30cm
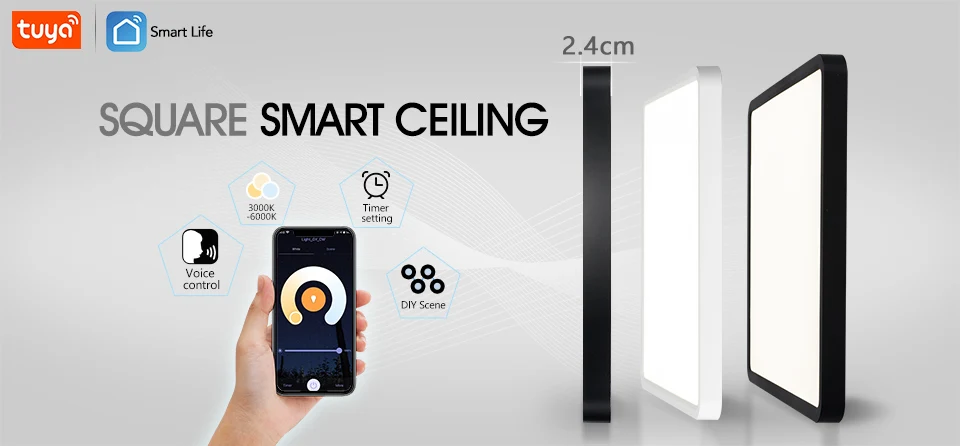
2. Thickness: 2.4cm
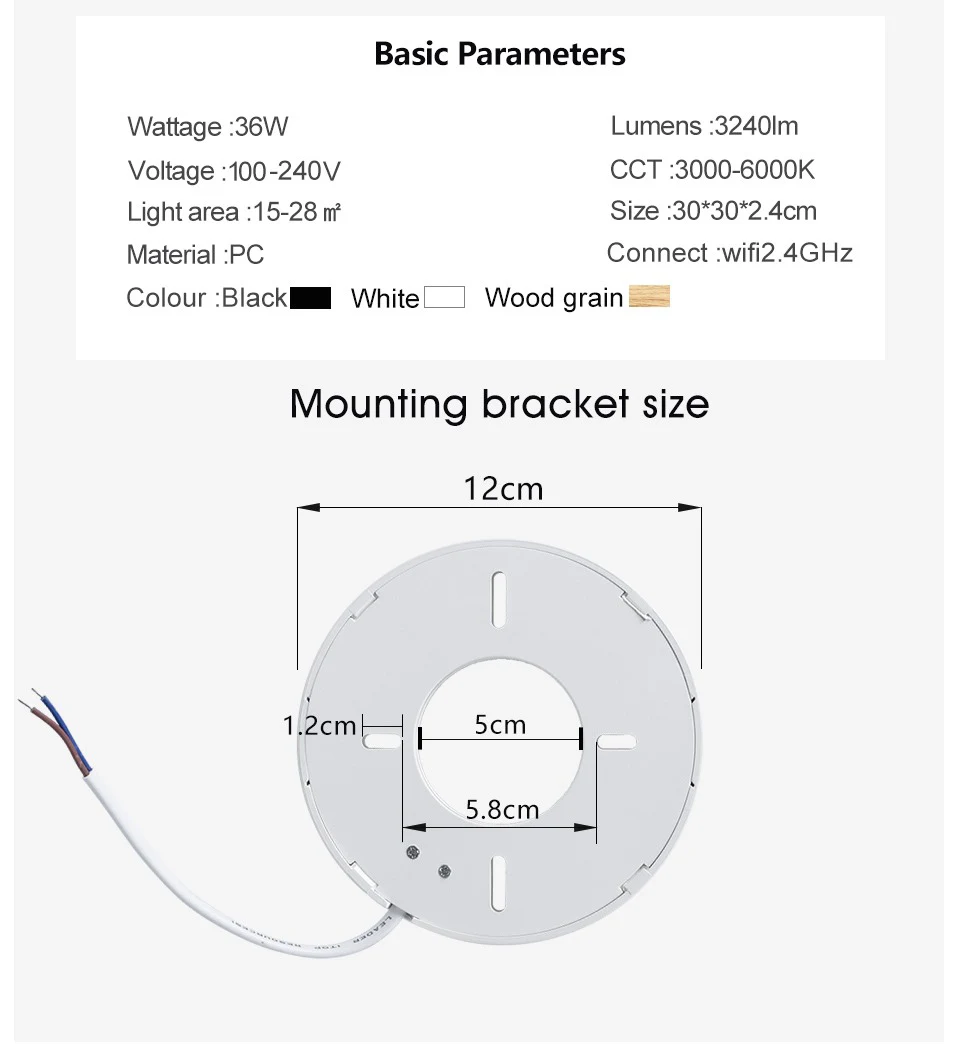
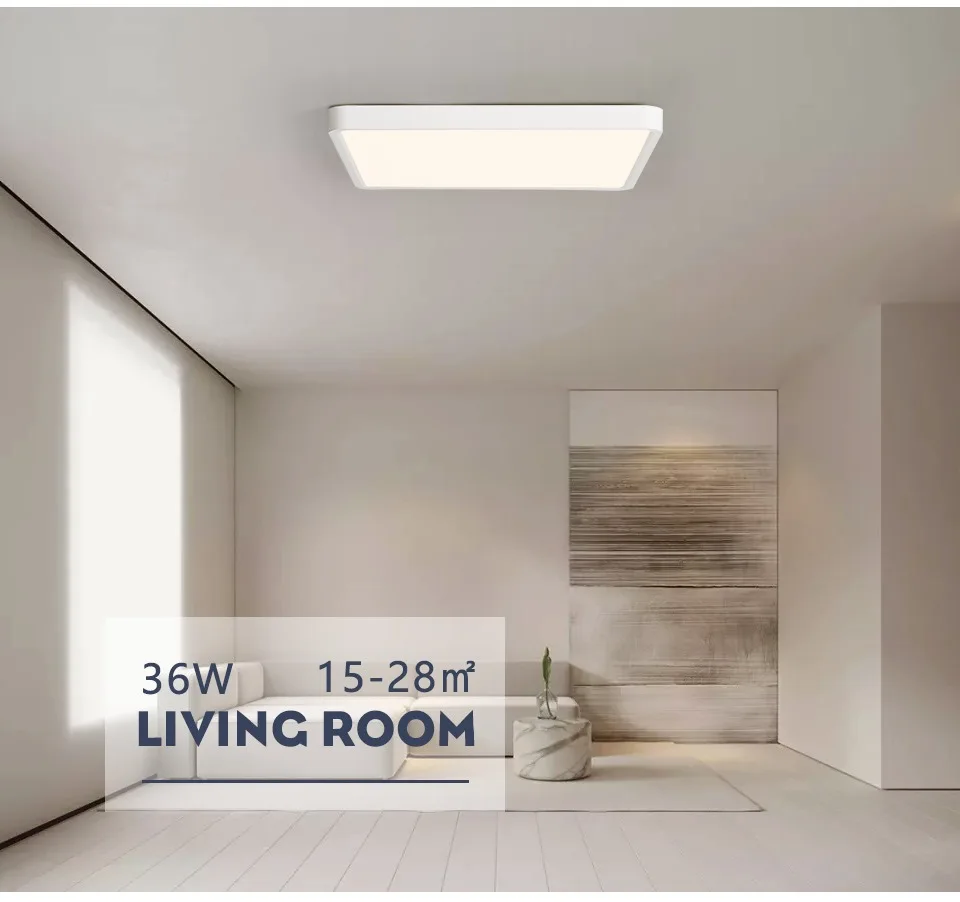
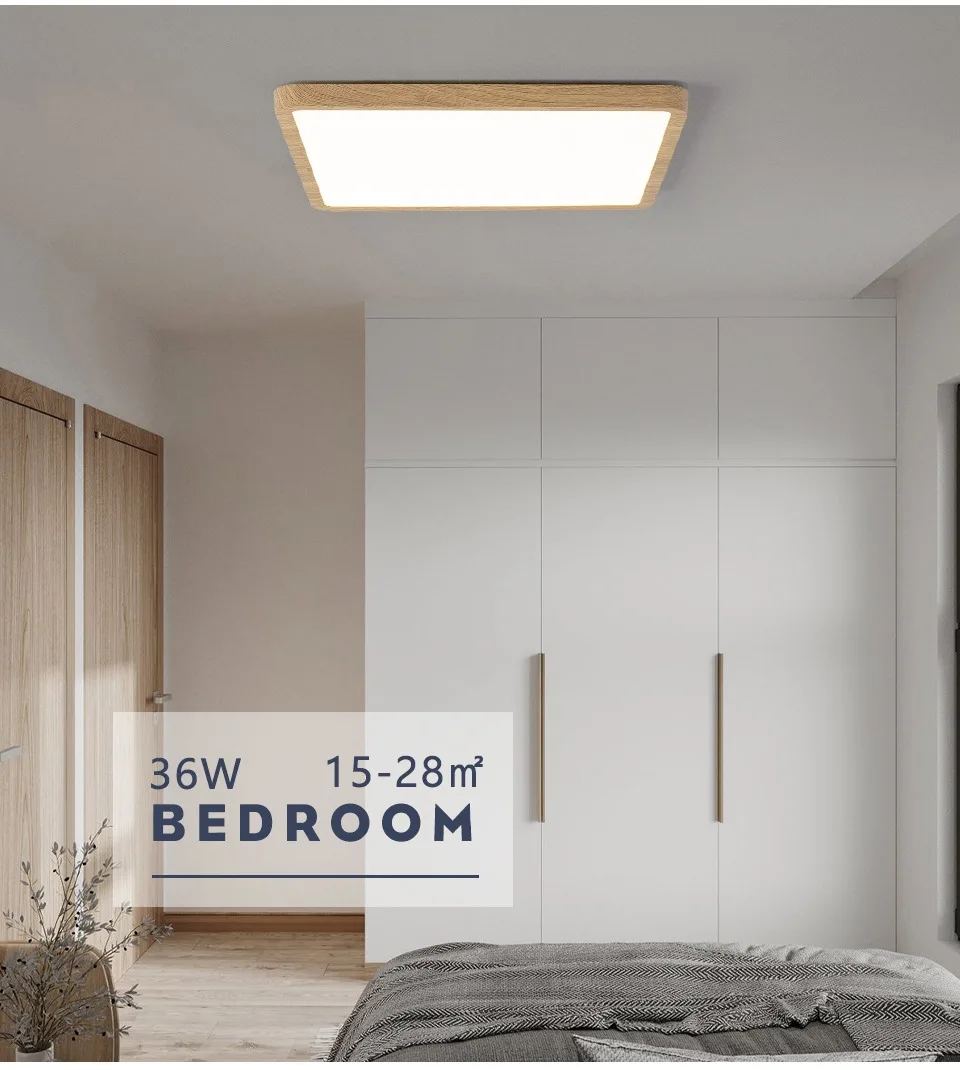
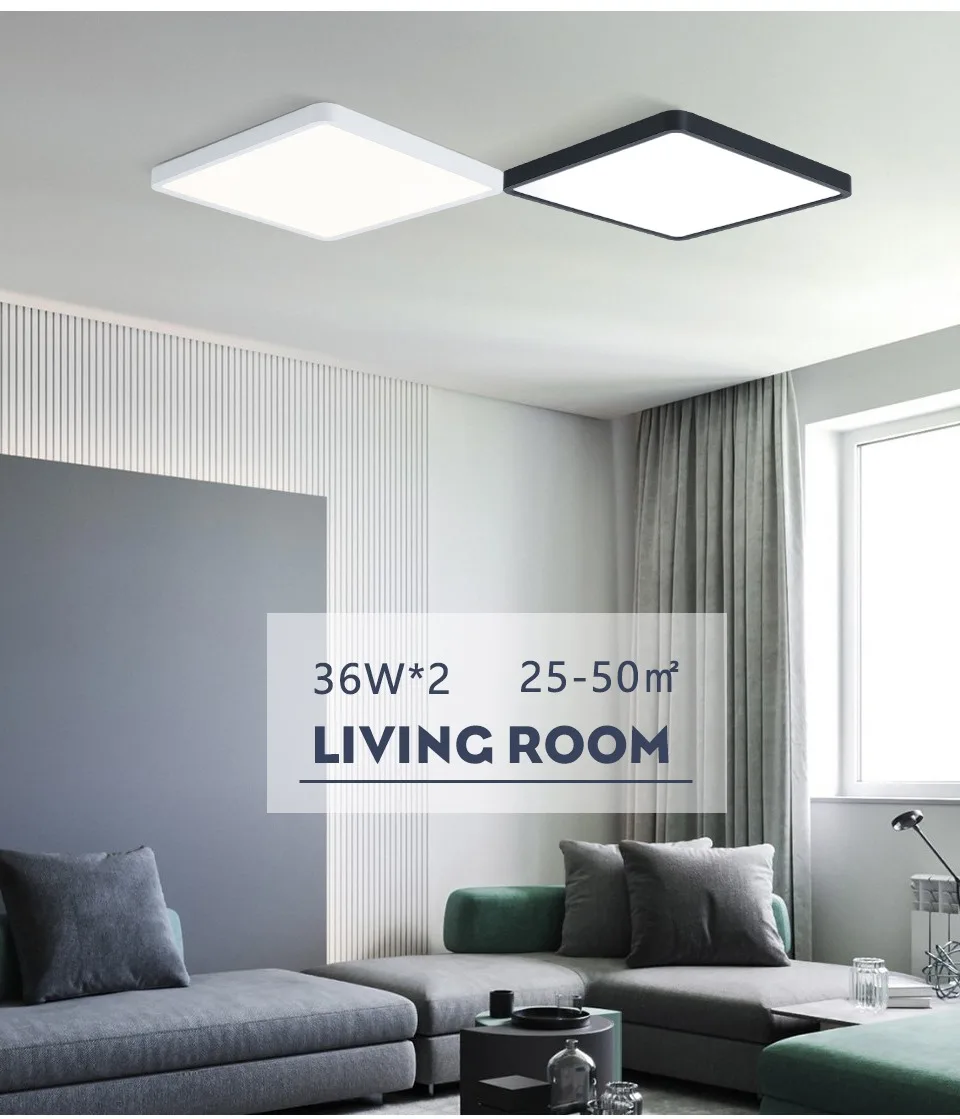
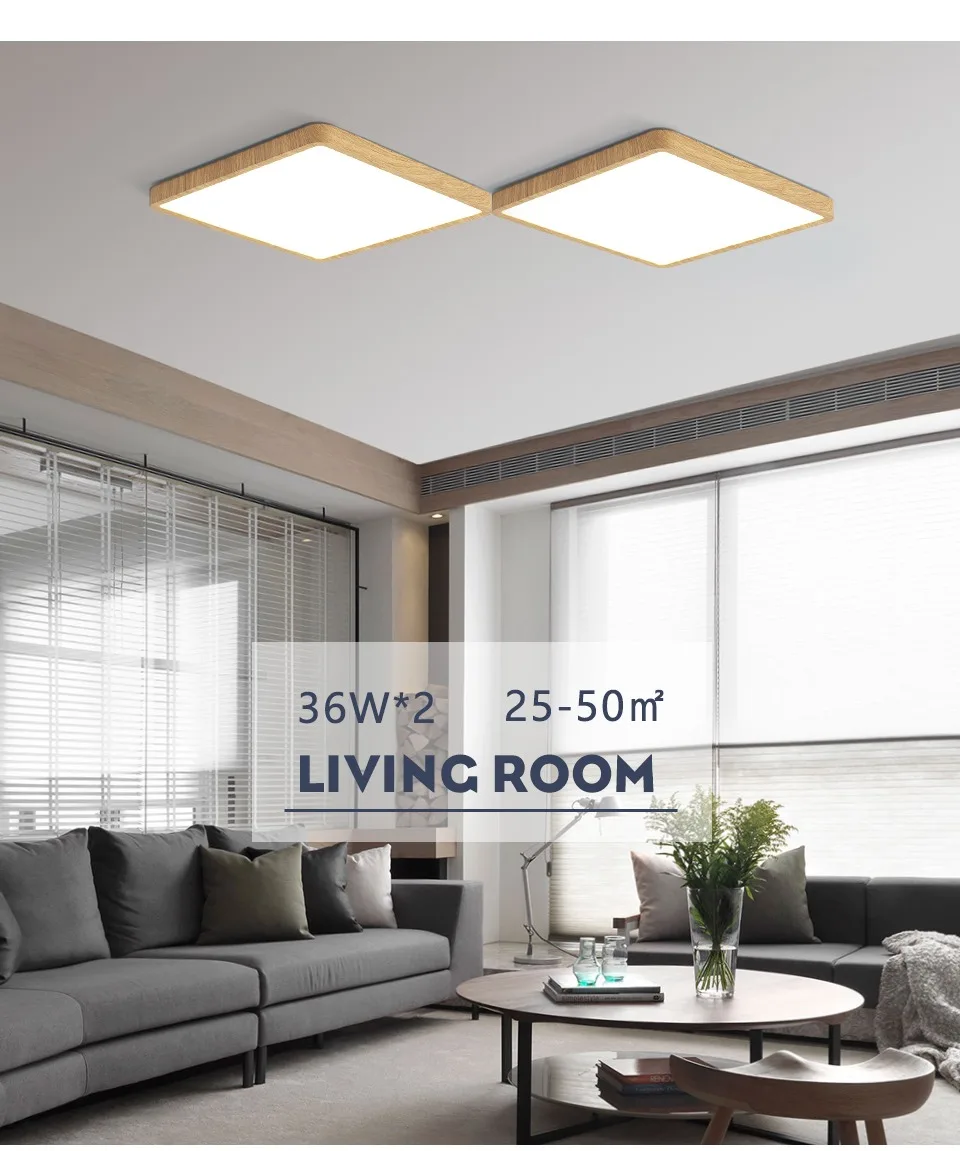
3. Power: 36W
4. Voltage: AC 100-240V
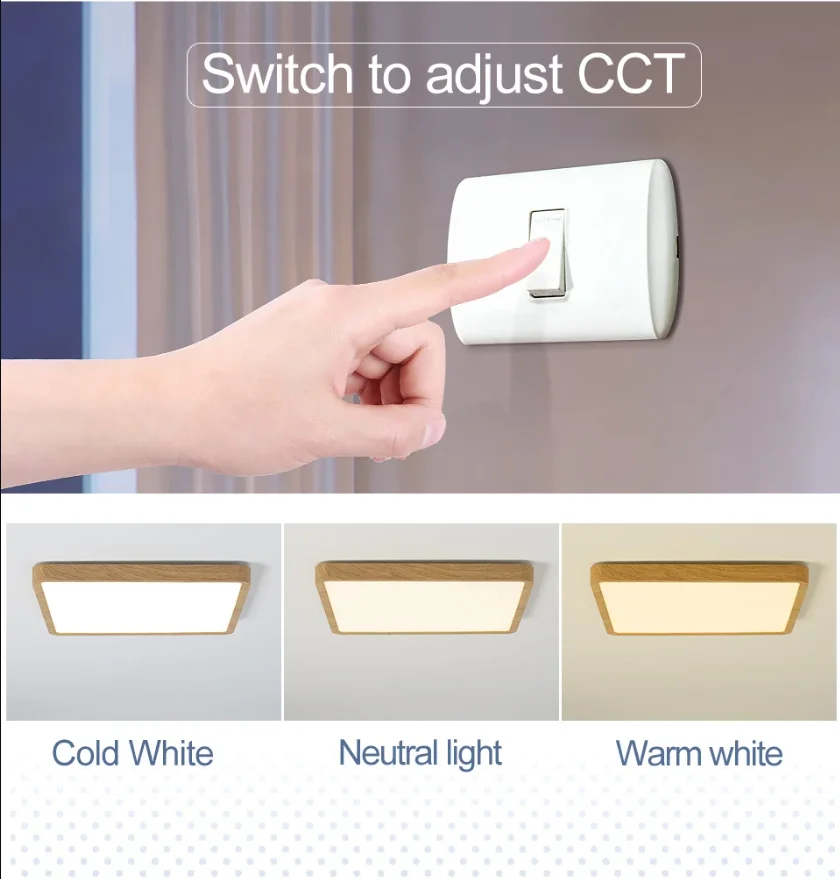
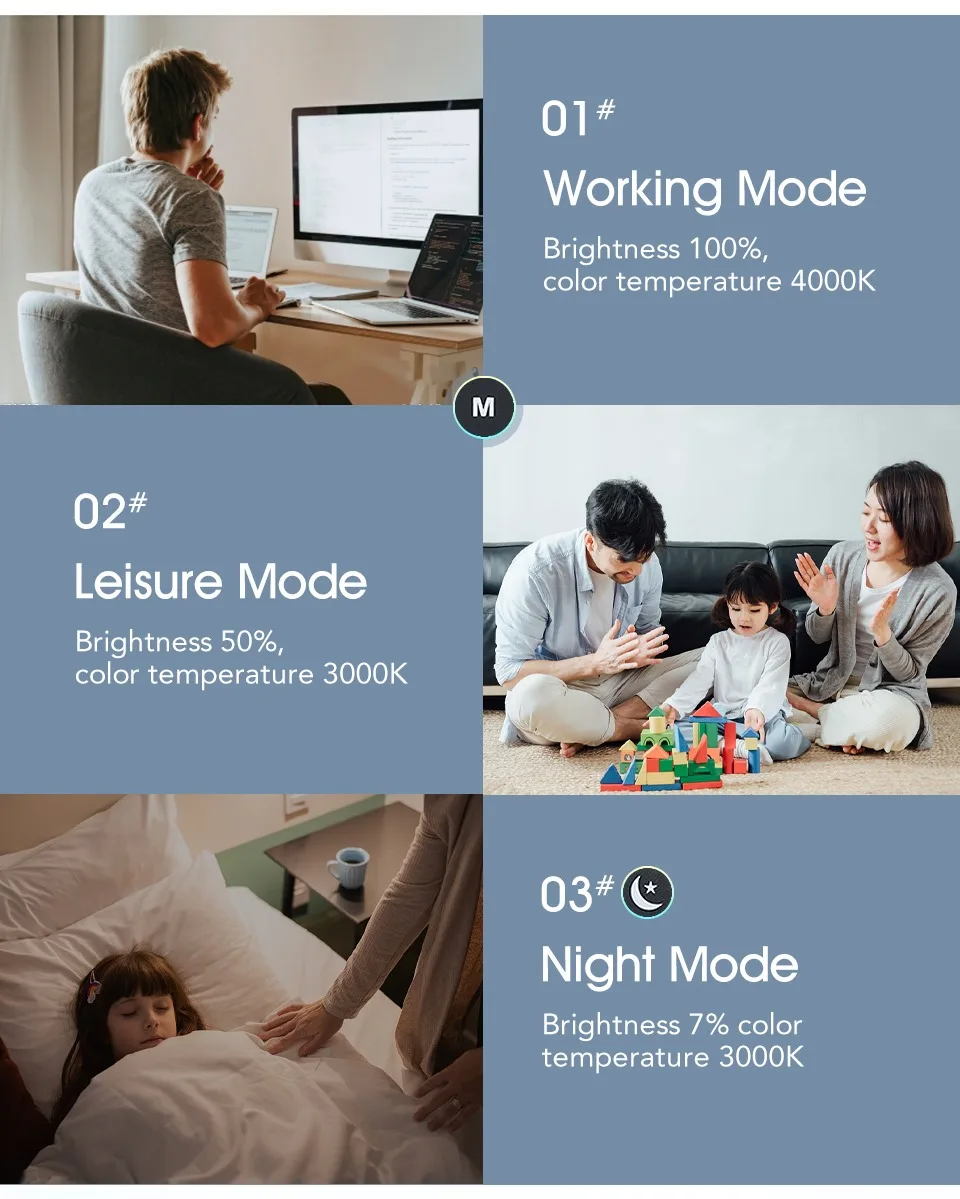
5. Color temperature: adjustable from 3000K, 4500K, 6500K
6. Brightness: 10-100% adjustable
7. Control methods: APP control, voice control
▼Product Features
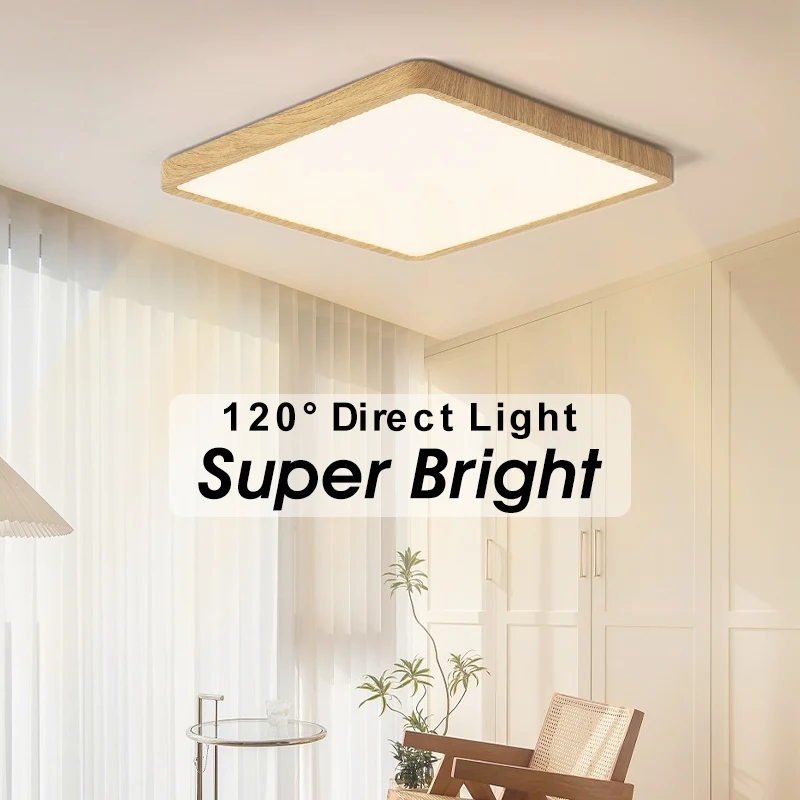
❤ Ultra-thin Design
0.9 inch (2.4cm) ultra-thin lamp body, redefine the modern style intelligent lamps. Size: 30*30*2.4cm (36W)

❤ Smart Control
High quality 2.4GHz WIFI APP+traditional wall switch
- Stepless adjustment of brightness, color temperature.
- With switch memory function.
- Timer switch, time delay switch.
- Traditional wall switch control can be color temperature switching.
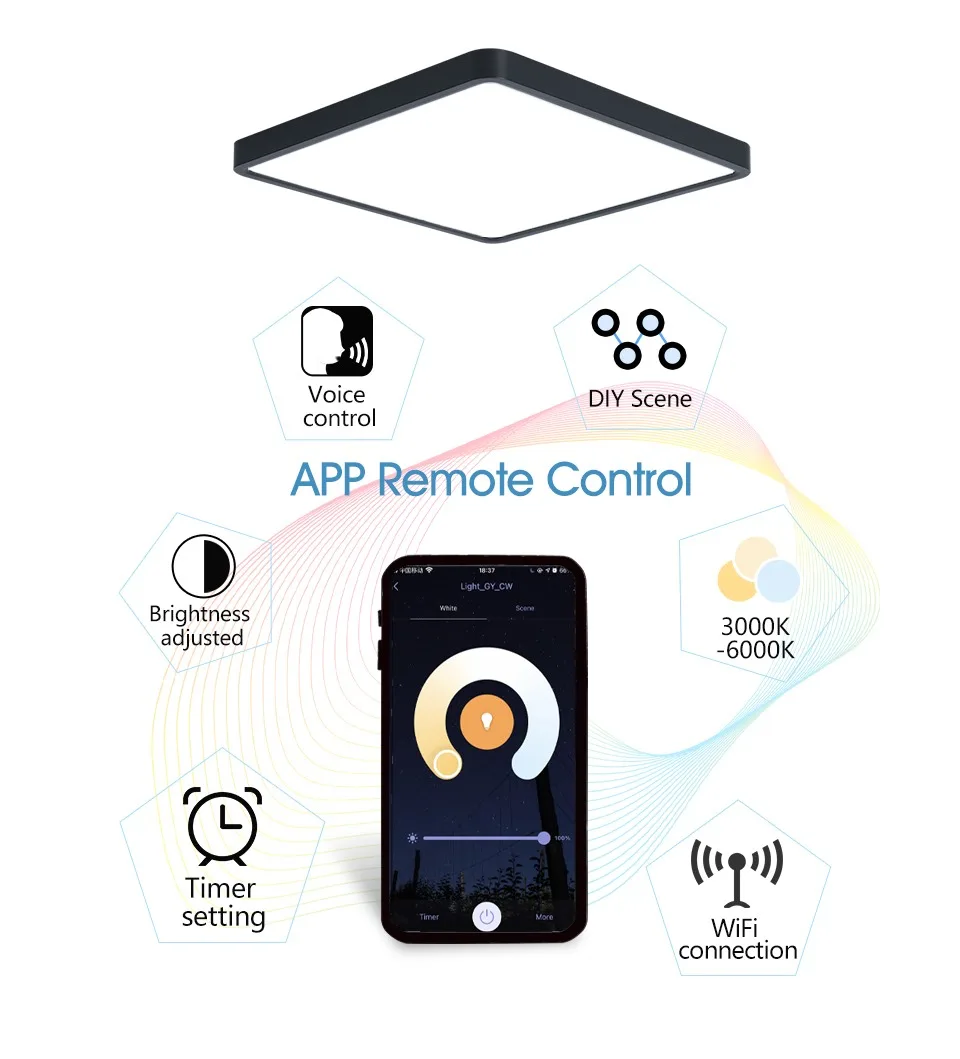

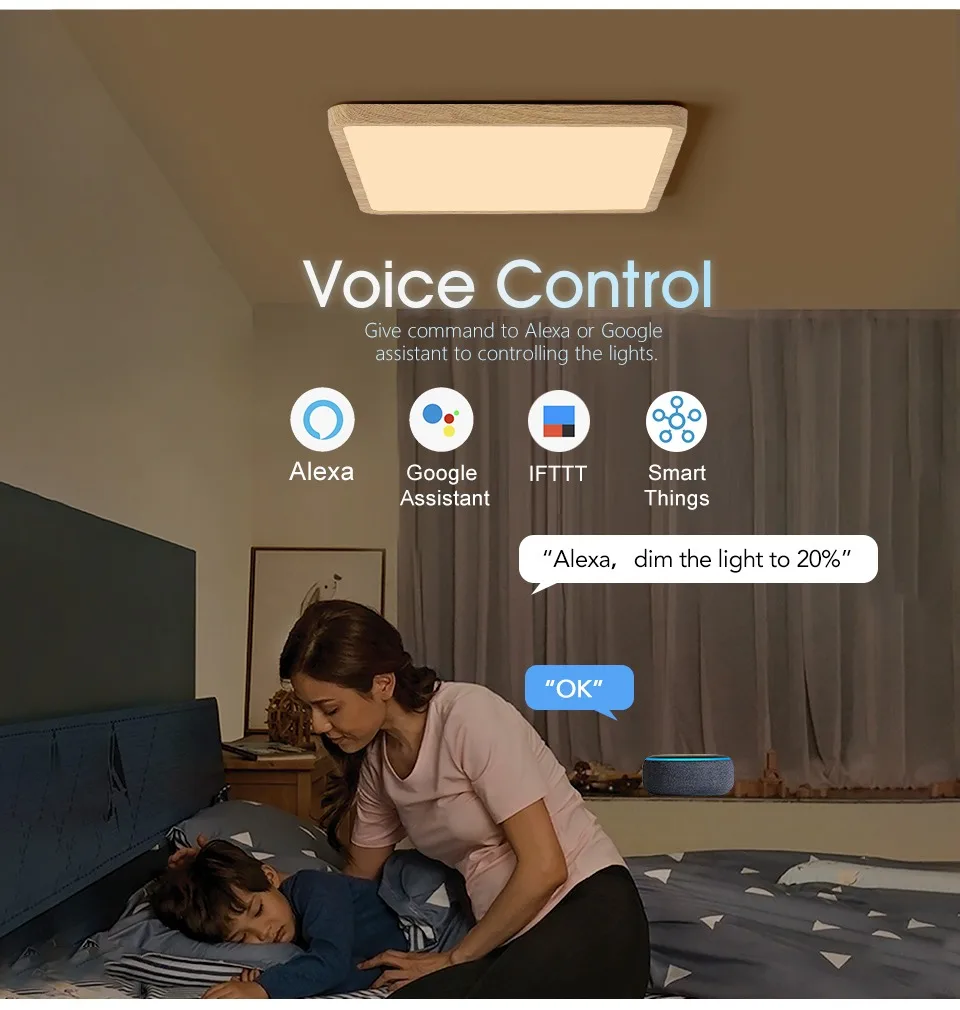
❤ Voice Control
You can voice to change CCT,adjust brightness,change light mode,trun off the light,etc.
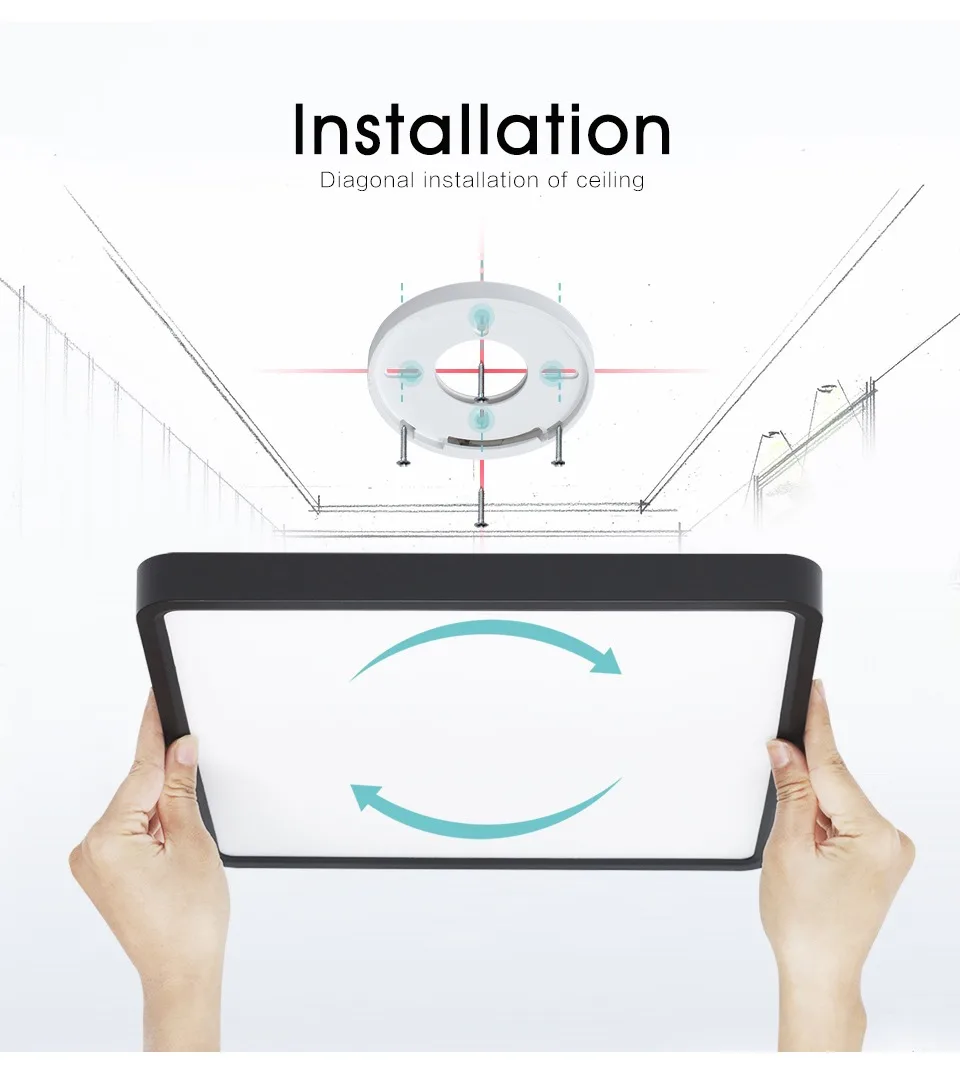
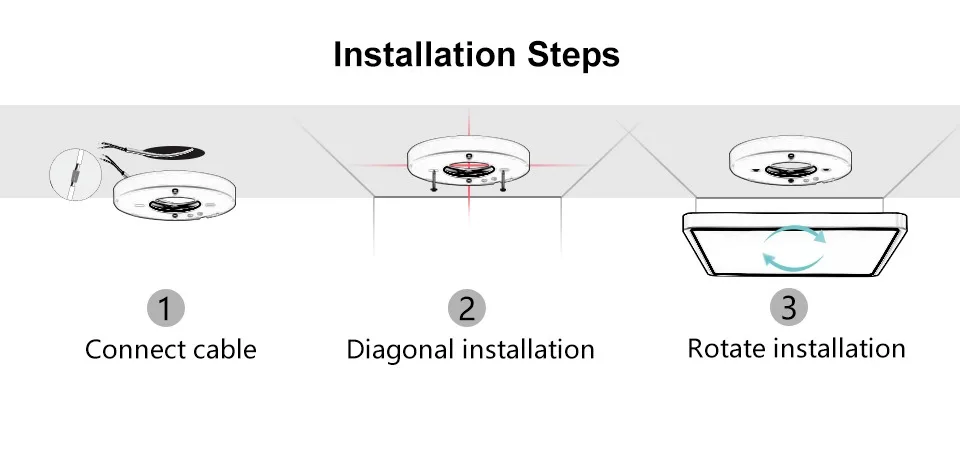
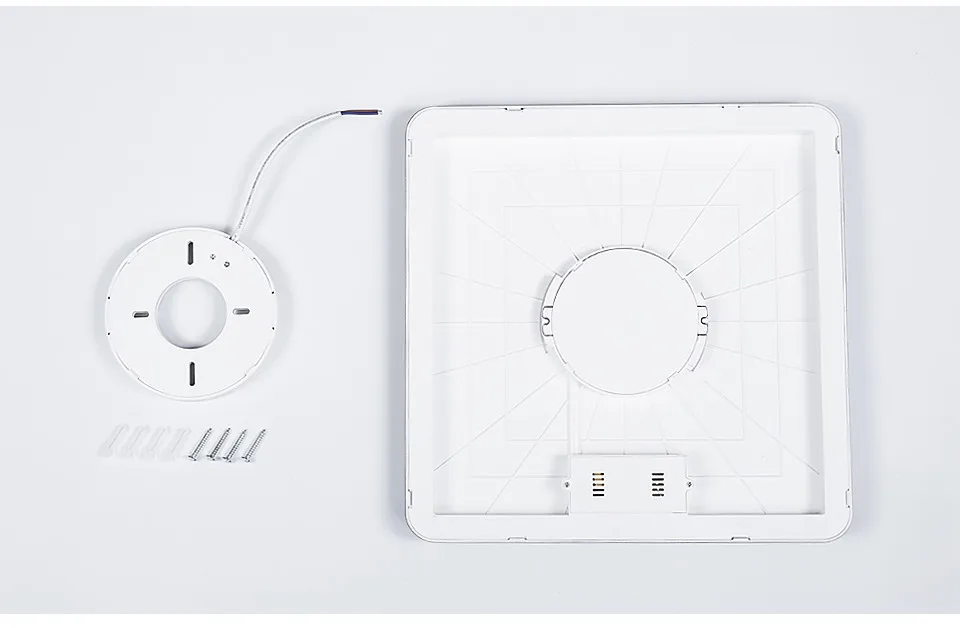
❤ Easy Installation
1. mounting the lampholder on the ceiling with screws.
2. connect the wire to the lampholder, do not energize it.
3. then connect the lamp body to the lampholder by rotating it together.
4. Turn on the traditional wall switch and turn on the light.
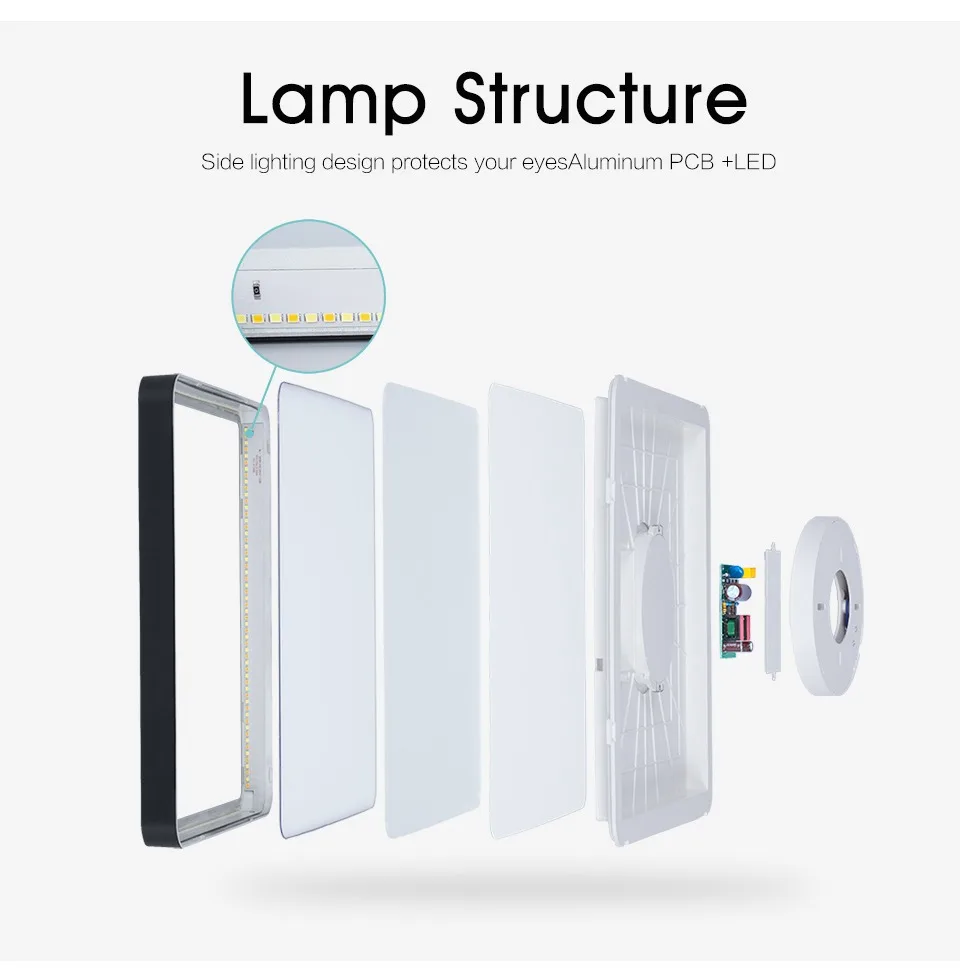
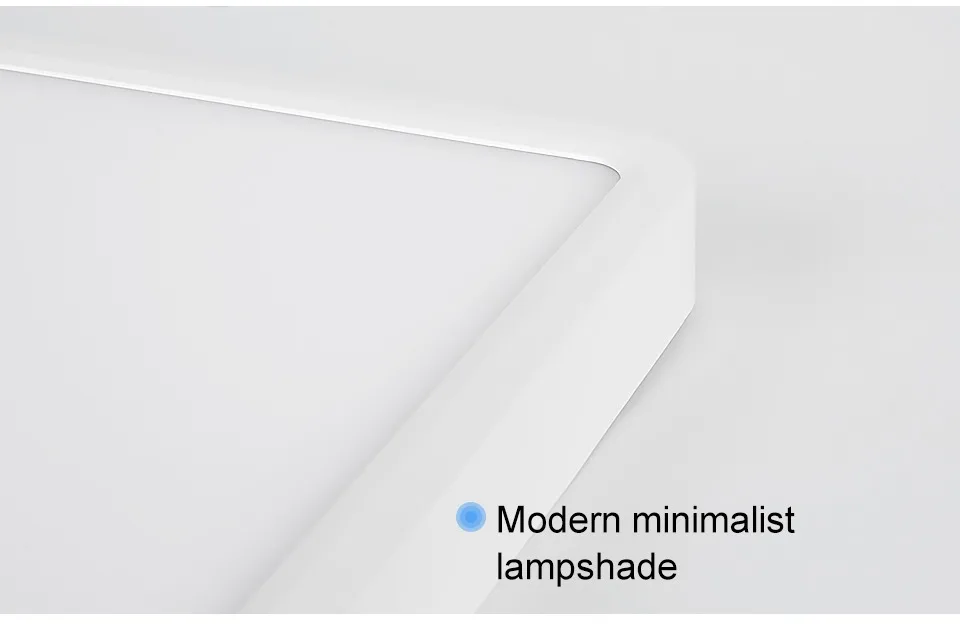
▼Product Details
- Side lighting design protects your eyesAluminum PCB +LED
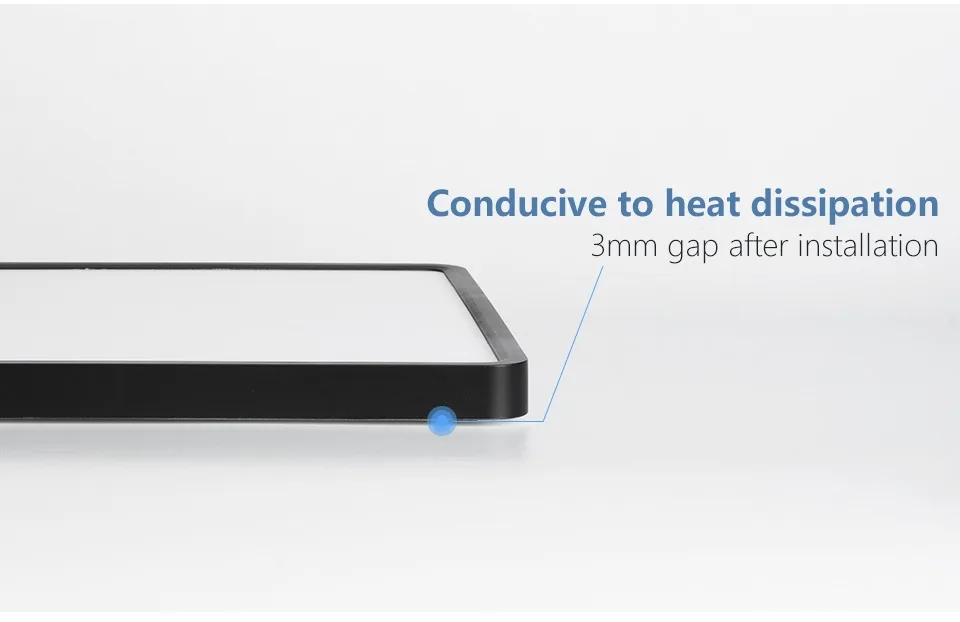
- Conducive to heat dissipation (3mm gap after installation)
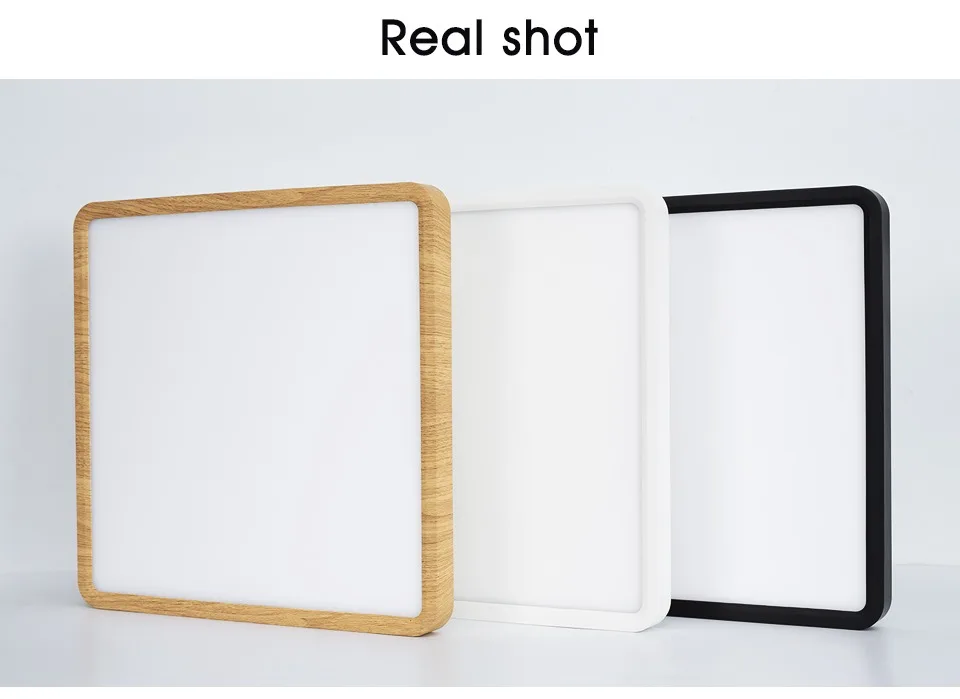
- Modern minimalist lampshade
▼Scenes
Corridor/indoor parking garage/kitchen/dining room/living room/study/bedroom...

▼Package Includes
Ceiling Light * 1
Accessory package * 1
Instruction manual * 1
▼FAQ
Q1. Does APP control require a network?
A1. Yes—it needs a WiFi network. The connection and control process is simple and straightforward.
Q2. Which voice assistants is this light compatible with?
A2. It works with Alexa, Google Assistant, IFTTT, and Smart Things.
Q3. Does this ceiling light come with a physical remote control?
A3. No, there’s no separate physical remote included. You can control the light via two easy methods: the smart APP, or your regular wall switch.
Q4. The light doesn’t turn on after I connect the cables. What should I do?
A4. This is usually caused by poor power contact from a loose base. Please check if the light base is fully rotated and tightened.
How to control the product with APP?
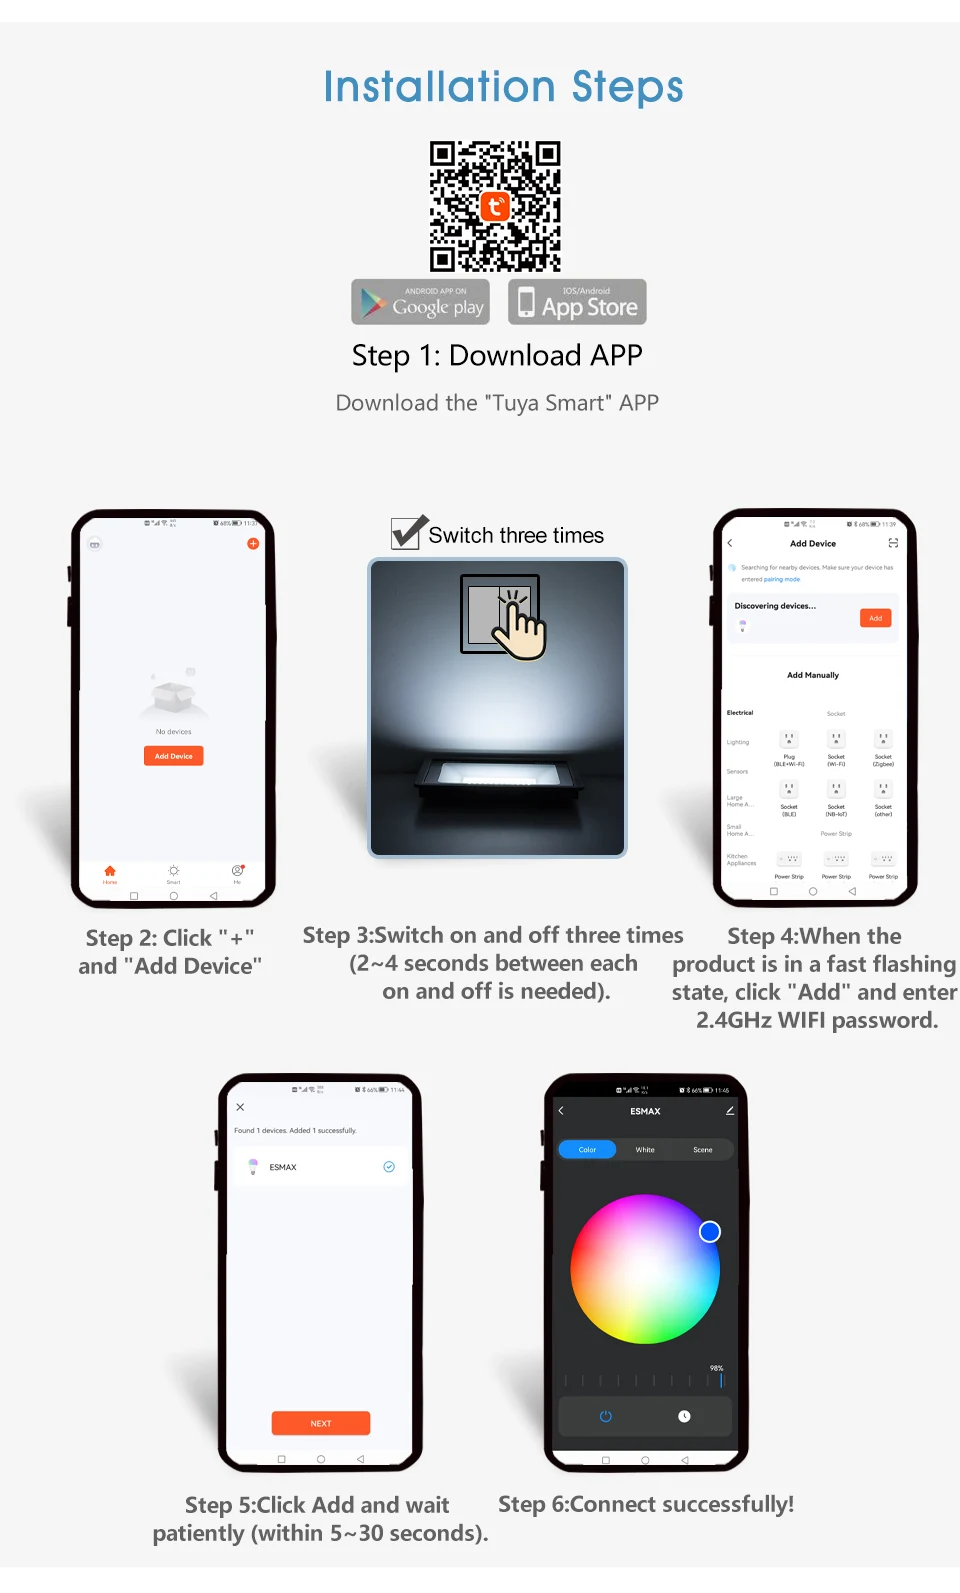
A: Download the Tuya Smart/Smart life software. The specific matching process is as follows:
First, you need to download “Tuya Smart” Software on your smartphone. The specific matching process is as follows:
Step 1: Scan the QR code or search for and download the "Tuya Smart" APP from your mobile app store, register your account and login.
Step 2: Click "+" in the upper right corner of the APP interface → "Add Device" (at this time, the phone is connected to both 2.4GHz WiFi and Bluetooth will be easier to connect to the product).
Step 3: After the product is powered on, switch on and off three times (light on → light off → light on → light off → light on) the power of the product (2~4 seconds between each on and off is needed).
Step 4: After the third light on, when the product is in a fast flashing state, it means that the phone has successfully found the product. Click "Add" on the APP interface and enter the correct 2.4GHz WIFI password.
Step 5: Click Add Device and wait patiently for the phone to connect successfully (within 5~30 seconds).
Step 6: Connect successfully!